
Congratulations on the new house — and take a breath. If you’re a first time homeowner with a septic system, you’re probably somewhere between excited about the new place and quietly nervous about the mysterious tank buried in the yard. That’s completely normal, and here’s the good news: a septic system isn’t fragile, and it doesn’t need constant babysitting. What it needs is a little understanding, a few good habits, and a maintenance calendar you actually follow.
Most septic problems are slow-motion problems. They start small — a little extra grease here, a few too many loads of laundry in one day there — and build up over years. That means the habits you set in your first year matter more than almost anything else. Get the basics right now, and your system can serve your family reliably for decades.
How This First Time Homeowner Septic System Guide Works
This guide is built as a first-year playbook in four phases. Work through them in order and you’ll know exactly where your system is, what shape it’s in, how to treat it day to day, and when to call in a professional:
- Phase 1 — Records and orientation (week 1): learn what you have and where it is.
- Phase 2 — Baseline professional assessment (month 1): find out the true condition of the system.
- Phase 3 — Daily habits that protect the system: small changes that prevent big repairs.
- Phase 4 — The maintenance calendar: the long-term schedule that keeps everything running.
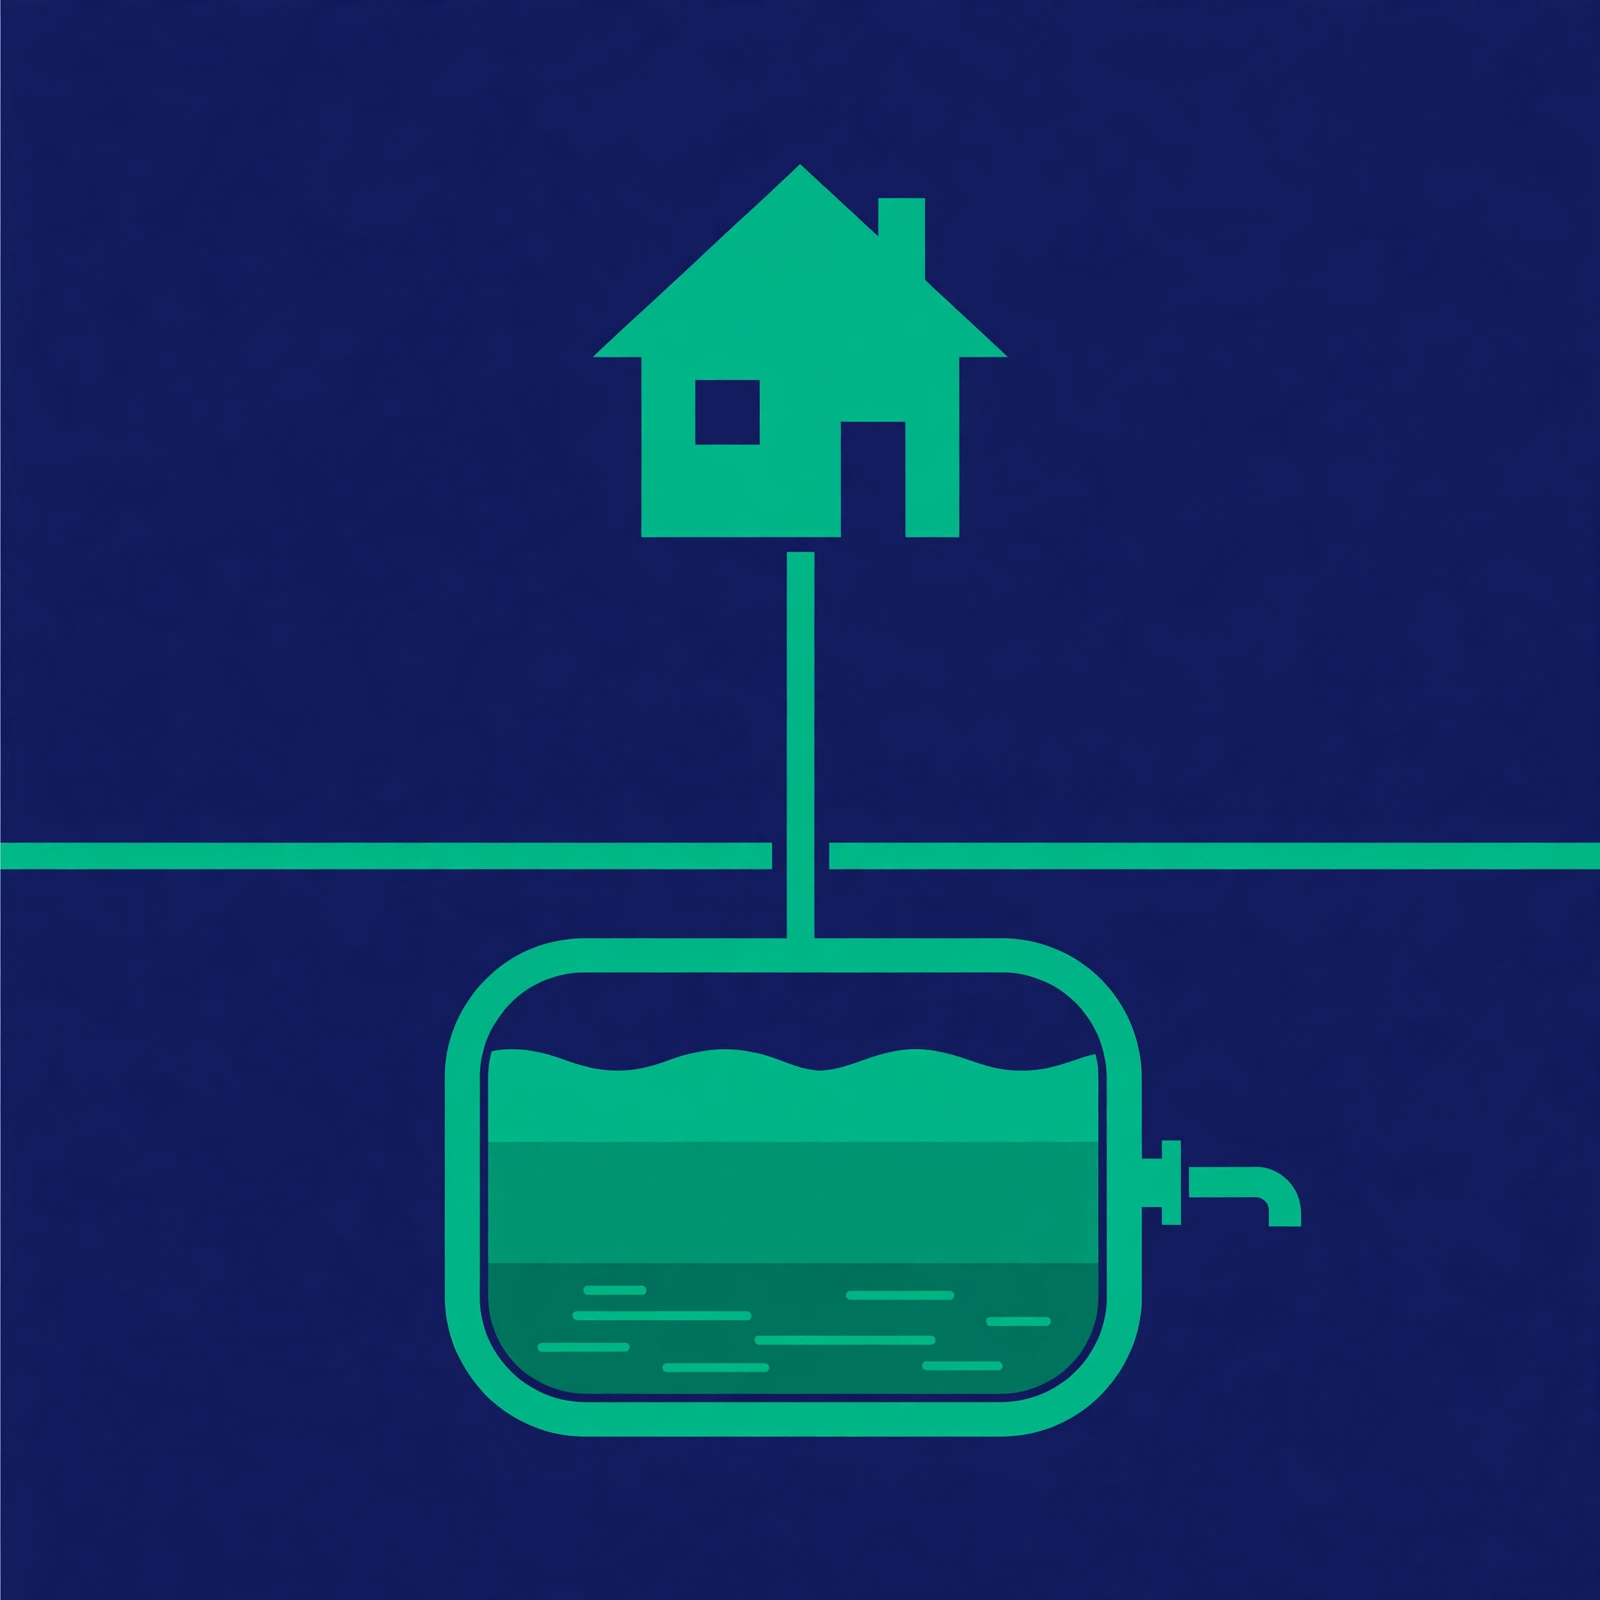
Before we dive in, here’s a 60-second version of how your system works. Everything that goes down your drains — sinks, showers, toilets, washing machine — flows into the septic tank. In the tank, solids sink to the bottom (sludge), grease and oils float to the top (scum), and the clearer water in the middle (effluent) flows out to the drain field, where the soil filters it naturally. The tank isn’t a garbage disposal — it’s a settling chamber plus a living ecosystem of bacteria doing the breakdown work. Everything in this guide comes back to one idea: protect that settling process and that bacteria.
Phase 1: Records and Orientation — Your First Week
New septic owners usually want to run outside and lift the tank lid first. Don’t. Your first job is paperwork, not shovels.
Gather the system’s history
Ask the seller for everything: installation permits, as-built drawings (which show exactly where the tank and drain field are), inspection reports, and past pumping invoices. If the seller’s records are thin or missing, call the county health or building department — they typically keep the permit history for septic installations and can tell you the system type, installation date, and tank size. A five-minute phone call can save you from digging up the wrong part of the yard.
Find it and mark it
Once you know where the tank and drain field are, mark them. Use small landscape flags, a sketch taped inside a kitchen cabinet, or a saved photo with measurements from a fixed landmark (like the corner of the house). You’ll thank yourself the first time a contractor asks, “Where’s the tank?” and you can point instead of shrug.
Know your drain field’s boundaries
The drain field is the shallow underground network of pipes that distributes effluent into the soil — and it’s more delicate than the tank. Keep cars, trailers, sheds, pools, and even heavy lawn equipment off it. The soil there needs to breathe, and compaction or crushing a pipe is an expensive mistake. Plant only grass over the field; tree and shrub roots love moisture and will hunt for your pipes.
Check for a pump or alarm box
Some systems — especially on lots with poor drainage or a house below the drain field — include an effluent pump or an alarm box. If you have one, find out what the alarm sounds like and what to do when it goes off. Write the steps on a card and tape it inside the box lid. An alarm you understand is a safety feature; an alarm you’ve never seen is a panic button.

Redirect water away from the field
Walk your property during or right after a rainstorm if you can. Gutters, downspouts, and sump-pump discharge that drain toward the tank or drain field are quietly overloading your system with extra water. Redirect them away — your system is sized for your household’s wastewater, not the roof’s.
One more week-one move: put a recurring reminder in your phone for your next pump-out (Phase 4 will help you pick the date). You’ll forget otherwise. Everyone does.
Phase 2: Get a Baseline Professional Assessment — Month 1
Within your first month, schedule a visit with a local septic service company — not necessarily for a pump-out yet, but for a full baseline assessment. Think of it as a home inspection for the part of your house you can’t see.
A proper baseline visit covers the things that actually determine system health:
- Sludge and scum levels: how full the tank really is, which sets your pumping schedule.
- Baffles and tees: the internal fittings that keep solids in the tank and out of your drain field.
- The outlet filter: if you have one, it needs regular cleaning to prevent backups.
- Pumps, floats, and alarms: tested, not just glanced at.
- Drain field signs: a pro can spot early trouble (soggy spots, odors, unusually green grass) you might walk past.
If the previous owner has no pumping record, this first visit is also the time to get a pump-out done and start a fresh log. Going forward, keep a simple file — paper or digital — of every pumping invoice, inspection, and repair with dates. It costs nothing and it’s gold when you eventually sell the house.
This visit has a second purpose: building a relationship with a local company before there’s an emergency. When sewage backs up on a Saturday night, you want to be calling someone who knows your system, not frantically reading reviews. Ask your neighbors who they use — local word of mouth is the best septic-company review system ever invented. For a sense of what a pump-out typically costs, see our breakdown of septic tank pumping costs in Georgia, which walks through the pricing factors that apply in most states too.
Phase 3: Daily Habits That Protect Your System
Your system processes wastewater every single day, so daily habits are where septic care is really won or lost. None of this is hard — it’s mostly about what goes in and how water moves through the house.
Learn what never goes down the drain
The bacteria in your tank can digest ordinary organic waste. Everything else is either indigestible (it becomes sludge faster) or actively harmful (it kills the bacteria). The most common culprits:
| Fine (in moderation) | Never down any drain |
|---|---|
| Toilet paper (septic-safe or standard) | “Flushable” wipes — they don’t break down |
| Human waste | Paper towels, napkins, tissues |
| Dish soap, laundry detergent (normal use) | Feminine hygiene products, diapers |
| Food scraps from dishwashing (scraped first) | Grease, cooking oil, and fats |
| Coffee grounds, cat litter | |
| Dental floss, cotton swabs, bandages | |
| Paint, solvents, pesticides, motor oil | |
| Harsh chemical drain cleaners |

A special note on two items people argue about. “Flushable” wipes are the number one modern enemy of septic systems — they don’t disintegrate the way toilet paper does, and they clog tanks, filters, and drain fields. And grease is the quiet killer: it cools and hardens in the tank, forms thick scum layers, and is one of the top reasons tanks need pumping sooner than they should. Wipe pans with a paper towel before washing, and keep a grease jar under the sink instead of using the drain.
Chemical drain cleaners deserve their own warning. They can kill the bacteria your tank depends on, and they rarely fix the underlying clog anyway. If a drain is slow, try a plunger or a drain snake first, or call a plumber.
Spread out your water use
Your drain field can only absorb so much water per day. Five loads of laundry back-to-back on Saturday can flood the field with more water than it can handle, pushing undigested solids where they shouldn’t go. Spread laundry across the week, run the dishwasher and washing machine on different days when you can, and avoid marathon shower-and-laundry days.
Fix running toilets and dripping faucets fast. A toilet that runs silently can waste hundreds of gallons a day — straight into your tank. Water-efficient fixtures (low-flow showerheads, low-flow toilets, etc.) aren’t just good for the water bill; they meaningfully reduce the daily load on your system. And think twice before adding a garbage disposal: it dramatically increases the solids your tank has to handle.
Protect the drain field, every day
This is a daily-habit item because it happens without thinking: don’t drive or park over the field, don’t let the kids build the above-ground pool there, and keep the grass mowed (grass helps wick moisture away). If you landscape, choose shallow-rooted plants well away from the field’s edges. The field is doing quiet, essential work under your lawn — give it clear ground and air.
Phase 4: The Maintenance Calendar
With records gathered, a baseline done, and good habits forming, the last phase is the long game: a simple calendar that keeps the system healthy for years.
- Inspect at least every 3 years. The EPA recommends having your septic system inspected at least every three years by a service professional — more often if you have an advanced or alternative system with electrical components.
- Pump every 3–5 years. The EPA’s general guidance is pumping every three to five years, but the real answer depends on your household: more people, more water use, and a garbage disposal all push you toward the shorter end. Your baseline assessment gives you a starting point; your pumper can fine-tune the interval after seeing your actual sludge levels.
- Clean the effluent filter annually if your system has one — many pumpers will do this during the pump-out.
- Seasonal check: each fall, walk the drain field for standing water or odors, confirm gutters still drain away from it, and make sure no new plantings are creeping toward it.
Two things to leave off your calendar entirely: septic tank additives and emergency-only thinking. Additives marketed as substitutes for pumping aren’t necessary — your tank’s bacteria are self-sustaining under normal use, and no powder or packet replaces removing accumulated solids. (We break down the claims and the math in our article on whether septic tank additives really work.) And don’t wait for a problem to justify attention; the whole point of the calendar is that problems never get the chance to start.
Warning Signs: When to Call a Professional
Even with perfect habits, know what trouble looks like so you can act early. Call your septic company if you notice any of these:
- Drains that are slow throughout the whole house (not just one sink)
- Gurgling sounds from toilets or drains
- Sewage odors inside the house or around the yard
- Standing water or mushy ground near the drain field
- Grass over the drain field that’s suspiciously lush and green compared to the rest of the lawn
- Toilets that back up or need frequent plunging
Sewage smells deserve prompt attention in particular — they can signal anything from a dry drain trap (easy fix) to a system problem that needs a pro. Our guide to tracking down sewage smells in your house walks through how to tell the difference.
The golden rule: a call early is cheap; a call late is expensive. Septic pros would much rather answer a “this seems off” question than dig up a failed drain field.
Your First Year on Septic: You’ve Got This
A septic system rewards the same qualities that make a good homeowner: paying attention, building routines, and handling small things before they become big things. In your first week, gather records and learn where everything is. In your first month, get a professional baseline and start a service relationship. From day one, watch what goes down the drains, spread out your water use, and keep the drain field clear. Then follow the maintenance calendar — inspect every three years, pump every three to five — and you’ll likely never have a septic emergency story to tell at parties.
If you want the full picture of everything SepticWise covers, our Start Here page maps out the whole library. Welcome to septic ownership — it’s simpler than you think.
Greetings Glows Team is dedicated to creating meaningful, helpful, and thoughtfully curated content for everyday inspiration and special moments.
What We Focus On:
Well-researched and reader-friendly articles.
Meaningful greetings, blessings, prayers, and inspirational messages.
Carefully curated ideas for everyday life and special occasions.
Clear, helpful, and engaging information.
Consistent quality and attention to detail in every publication.
Our goal is simple: to make every visit worthwhile with content that inspires, informs, and brings a little more positivity to your day.
2 thoughts on “First Time Homeowner Septic System Guide: The Complete Playbook”